September 03, 2006

Halloween Cookies


I'm not sure when it happened, but somewhere along the way the tradition of holiday cookies got dropped in favor of slice and bake premade logs of seasonal chemicals. I'm here to remind you that I can't think of a better way to spend a rainy fall day, than making cookies with my kids and giving them as gifts. These fondant cookies are a lot easier than you might imagine. Every Michaels, Hobby Lobby, and WalMart carries Wilton brand decorating supplies. Wilton's "just add water" fondant comes in plain (white) and chocolate. If you have some food colors, a rolling pin, and at least one cookie cutter you can make these impressive cookies.


May 10, 2006

Smoke 'em if you've got 'em

As soon as the weather starts to warm up, it’s time for Barbeque in my mind. I thought I knew all about BBQ until I moved to Kansas City, and what I realized was that I knew quite a bit about grilling, but real BBQ was something altogether different. Once I figured out a few secrets, I’ve never looked back. This issue, I’ll share some of those secrets as well as some shortcuts.

Keep in mind, there are many differing opinions about BBQ from the meat to the sauce and the fuel in the middle. I don’t have the time or expertise to cover every version, so I’ll stick with what I know, and maybe this will inspire you to give it a try and pickup one of the many books on the subject.

The main difference between grilling and BBQ, is Barbecue is “low and slow”, low temperature cooking for a long period of time, over charcoal, gas, or wood. In my book, some type of wood is used to impart the smoked flavor and give you the all important “smoke ring” coloration in the meat. For this recipe, we’ll use pork but the methodology could easily be used for beef or chicken, but you would adjust cooking times.

1. Brine it

2. Rub it

3. Smoke it

4. Rest it

5. Pull it

6. Sauce it

7. Sign Autographs

Brine it: Bring 1 Quart of water to a simmer in a sauce pan, and then stir in 1 Cup Sugar and ½ Cup Kosher Salt. Stir until everything is dissolved and remove from heat. Cool to room temperature and add ice to make 1 Gallon. Place 1 to 3 whole Bone In Boston Pork Butt (Boneless or Shoulder will work too) in appropriate size container and pour brine over the meat. Refrigerate 6-30 hours, the more the better.

Rub it: Remove your meat from the brine and pat dry with a paper towel. Rub meat with 1 Tablespoon per pound Prepared Yellow Mustard, then apply your dry rub liberally (see recipe below). Cover with cling film and allow to rest at room temperature while you prepare the smoker.

Smoke it: I use an inexpensive gas smoker (around $55.00), but a Webber kettle style grill, or a gas grill will work as long as you can cook with indirect heat. Indirect heat works best when you set your coals off to one side and place the meat over the “cold” side of the grill. Control your heat using the air adjustments on the top and bottom of your grill. If using gas, you’ll need to turn off one or more of the burners and adjust the heat with the remaining burners. If your gas grill only has one burner, I haven’t found a good alternative.

The goal is 250-275 F at the meat level of the grate. If you are using charcoal you’ll need to add more coals during the long cook, and I highly suggest a charcoal chimney for this. To create the imperative smoke, I use a combination of wood chunks and wood chips soaked in water (or beer) for at least 30 minutes. I use a combination of Applewood and Hickory or Hickory and Mesquite, depending on my mood. Toss a couple of handfuls of wood on the fire the first three times you lift the lid. Keep the lid down as much as possible, control your urge to fiddle with it. Get your temp within zone and leave it alone. To check the temperature, you’ll need a good thermometer for the air temperature and one to check the meat. My smoker came with a cheesy thermometer that I replaced with a decent one by drilling a hole in the lid.

Rest it: You want the meat falling off the bone or coming apart very easily. Look for an internal temperature of 200F. A bone in Boston Pork Butt will take 10-12 hours but is well worth the wait. If you want to cheat, smoke it for 4 hours and finish in a crock pot on low for another 6-8 hours, but don’t tell anyone I said it was OK. I’ll get thrown out of the ABC (Amateur BBQ Club), if you do.

Now, let your meat rest for 20 minutes before you start pulling.

Pull it: Start by removing the bones, and begin pulling the pork along the grain into about 1-2 inch threads of meat. If it isn’t coming apart really easily, you didn’t cook it long enough so make a note of it for next time. I keep a bowl of ice water next to my cutting board to dip my hands in when they get hot. I discard all of the fat and bones but never the “crust”. This is known in BBQ circles as “Mr. Brown” and the best part. In my photo, it may look burned but it isn’t at all over done. That almost black is a dark caramelized meat mixed with smoke and what elevates a simple pork roast to the heights of real Barbecue.

Sauce it: I serve a variety of sauces with my Cue, but if the meat is right it really doesn’t need any. Check www.parttimechef for sauce recipes. Another tip is to serve your sauce warm. If nothing else, let the sauce come to room temperature over several hours instead of ice cold right out of the fridge. Warming the sauce really enhances the flavor.

If BBQ to your neighbors means burgers and dogs just shy of black with an overpowering flavor of lighter fluid, then give this a try and invite them over. You just might be signing autographs.

Part Time Pork Rub

4 TBL Paprika

1 TBL Kosher or Flake Salt (you may sub “Lawry’s” salt also)

2 TEA Black Pepper

½ TEA Cayenne Pepper

1 TBL Dried Thyme

4 TBL Dark Brown Sugar

2 TEA Dry Mustard

2 TEA Ground Coriander Seed

1 TBL Onion Powder

1 TBL Garlic Powder (not Garlic Salt)

Mix together thoroughly and store in a tightly lidded container. Use liberally on pork, beef, chicken, or pork (yes I know I said pork twice, I like pork)

March 30, 2006

Part Time Chef on Emeril Live


Part Time Hits the Big Time
FoodTV is certainly a Big Time icon for most of us Foodies, and no matter what your opinion of the content you have to acknowledge the scope of their influence. They may be huge, but they sure are large. I spent last weekend in New York taping the Halloween special for Emeril Live. Yes, I said the Halloween special. We were scheduled to finish up on September 12th, but Katrina hit and thoughts of "specials" were abandoned. I entered a recipe contest last Summer and was one of four winners to tape a segment at home, then travel to the FoodTV studios to do the "Live" portion. The show will air in October. I smuggled a small film camera into the studio and I'll post some additional photos and a little insight into how a big operation like Emeril Live operates. Until then, try www.cordrogers.com for some additional photos and info.

February 16, 2006

Run Forest, Run


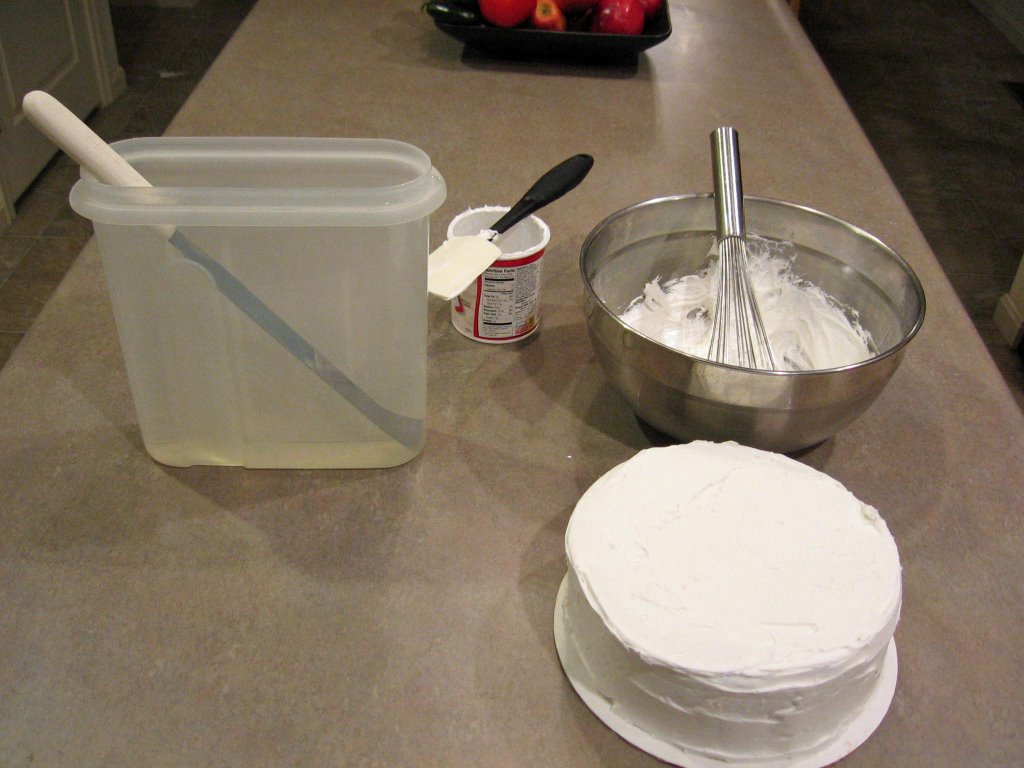
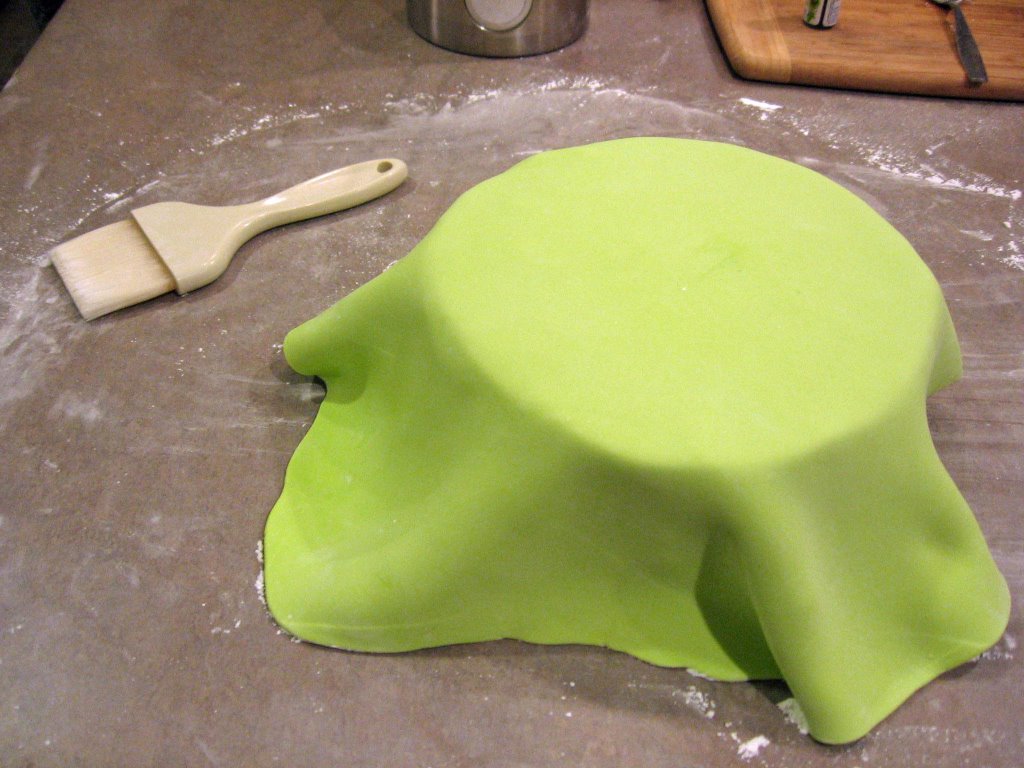
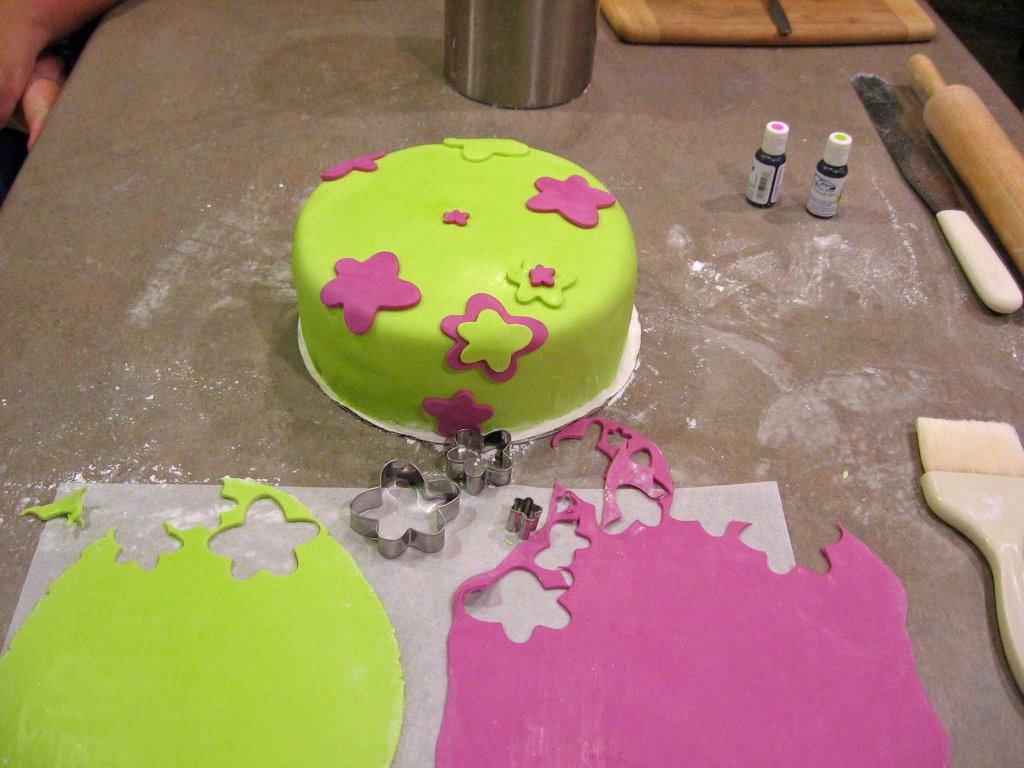
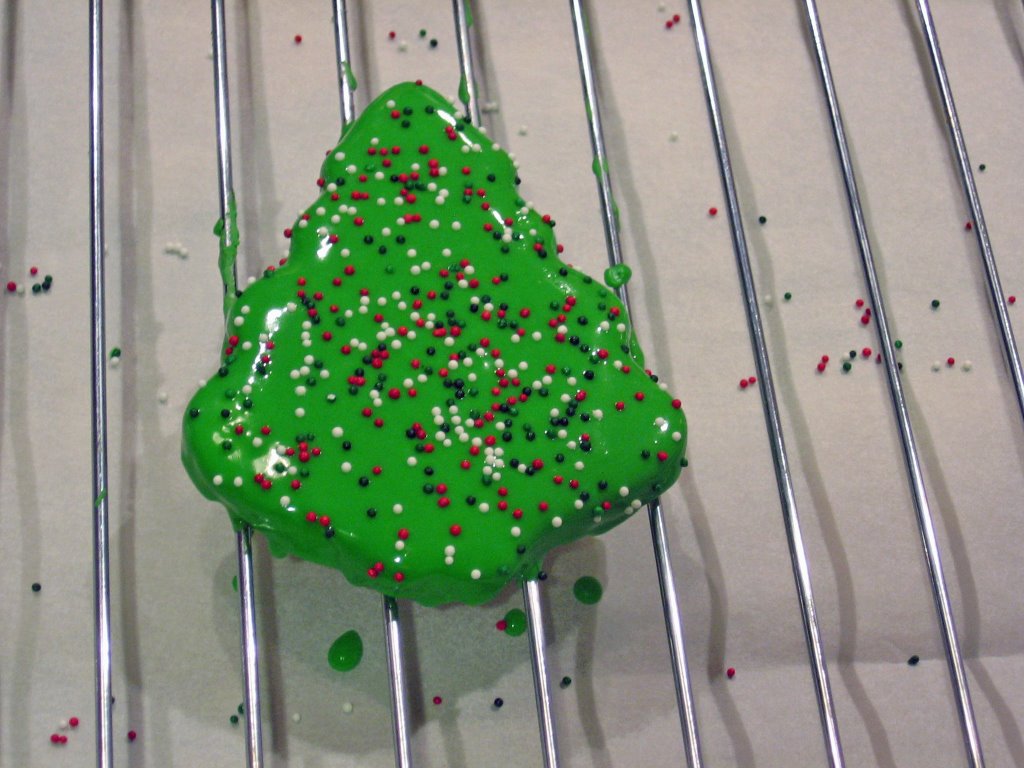
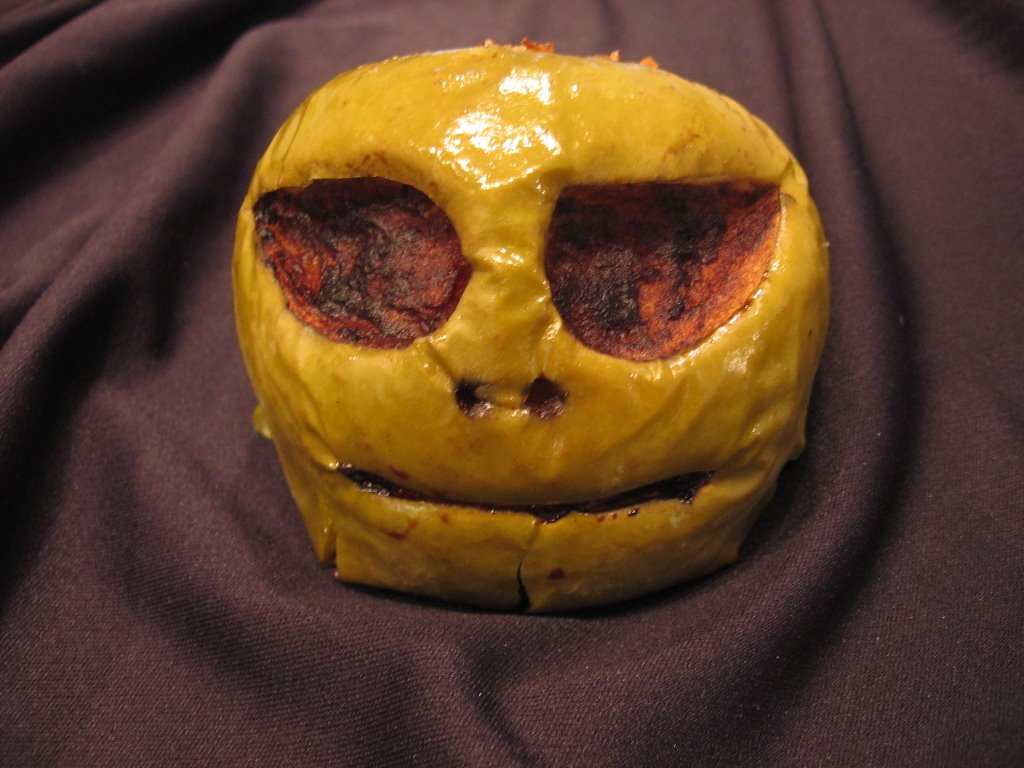
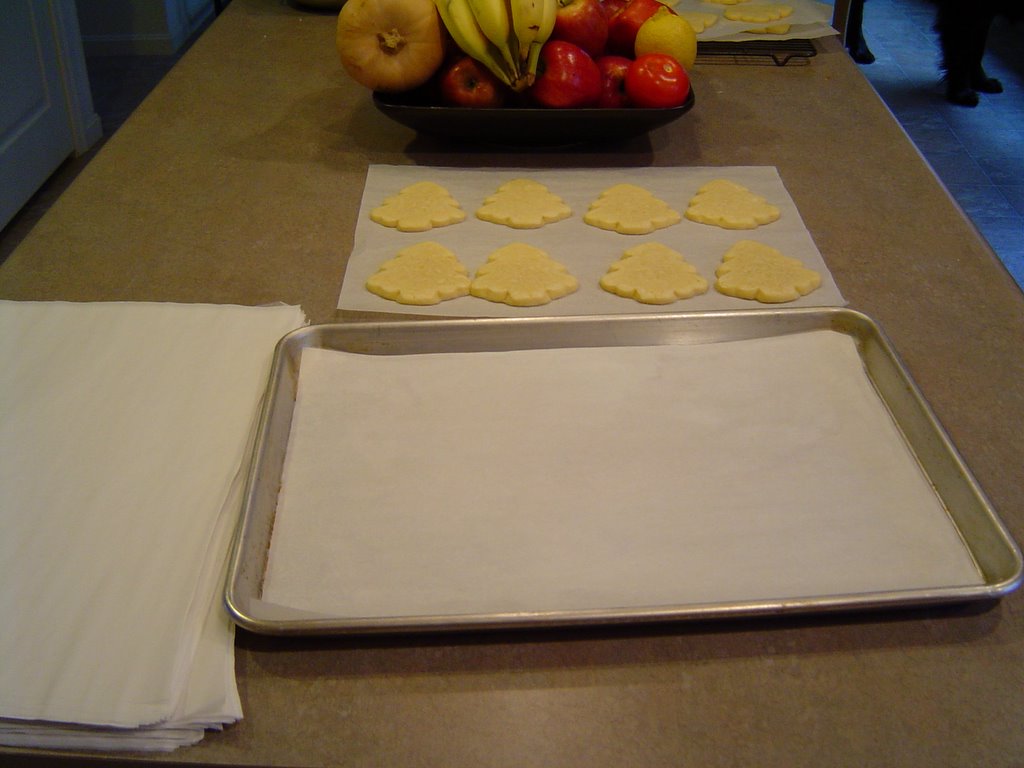
I know it looks like the site is turning into a cake decorating class, but I've had three birthdays in the last six weeks and I wanted to try my hand at cakes. All of you "Part Time Pastry Chefs" out there, cut me a little slack. The three cakes you see here, are my only serious attempts at the subject and I have a lot to learn. I must say that it has been fun so far and I'll let you learn from my mistakes.

I asked the "Part Time Housekeeper" what she wanted for her birthday and she said "Black Forest Cake". She suggested cherry pie filling from a can, but I thought I might be able to do a bit better with frozen cherries.
  • I made "Brandied Cherries" by making a sugar syrup and adding frozen cherries, orange juice, lemon zest, and brandy.
  • I stabilized the whipped cream with gelatin which worked well.
  • To apply the syrup to the cake, I drained the cherries and put the liquid into a squeeze bottle.
  • Some of the syrup went on to each layer of cake, then the whipped cream and the cherries.
  • When it was all together I brushed off the crumbs and smoothed the gaps with a spatula.
  • My first pass at a ganache fell short a bit, but I learned a lot. Next time I'll add some corn syrup to the mix to keep the glaze from turning cloudy and pay more attention to the consistency. It was not very smooth because it was a bit too thick.
  • The roses and leaves didn't turn out perfect, again because of consistency.

February 12, 2006

Birthday Cake with Bittersweet Chocolate Frosting Filled With Milk Chocolate Whipped Cream


This is only my second serious attempt at a cake, so I'm by no means an expert. Here are some of the "tricks of the trade" I found useful.

  • Put a parchment circle in the bottom of each of the pans.
  • When cool, slice the layers in half with a large serrated knife and put paper between the now four layers.
  • Stack the layers together and wrap them in two layers in of foil.
  • Freeze the cake overnight. Brush the crumbs from the frozen cake with a pastry brush.
  • Use "Piping Gel" to stabilize the whipped cream.
  • When assembling the cake use a cardboard circle the same diameter of the cake.


  • Rewrap the assembled cake and freeze again if you have time.
  • The exterior is also stabilized whipped cream with bittersweet chocolate.
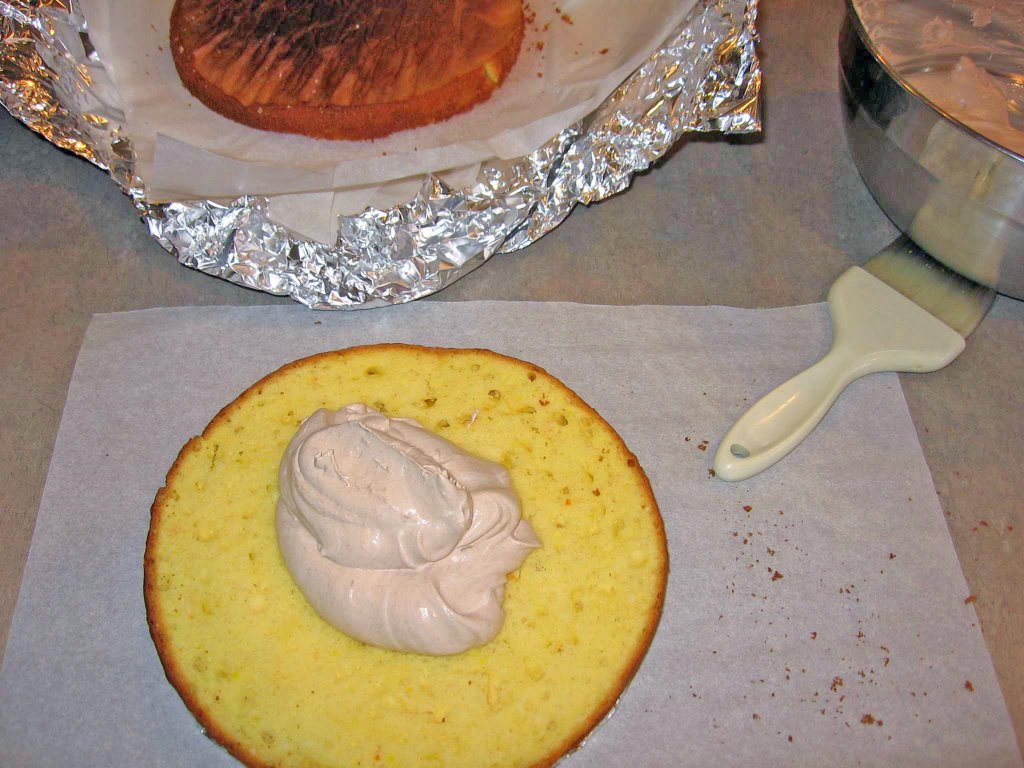
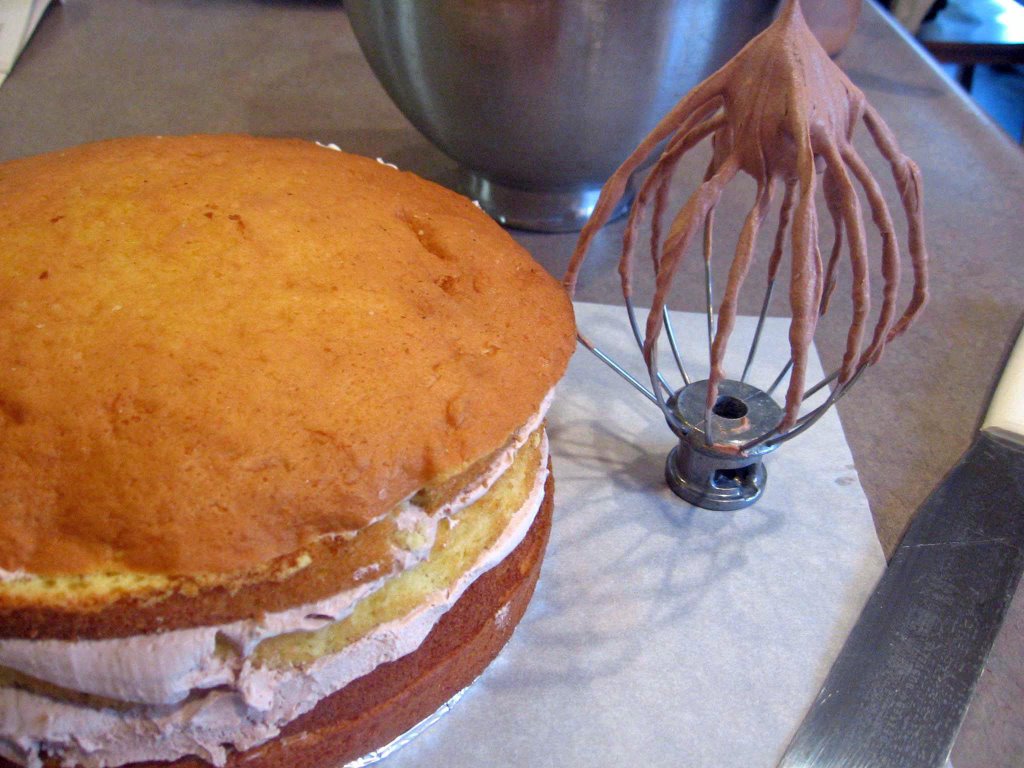
Line the display platter with strips of parchment (or wax) paper.
  • Set the cake in place and carefully remove the paper, leaving the plate perfectly clean.

Use a vegetable peeler to curl chocolate for a garnish.

January 08, 2006

No wok, no problem.


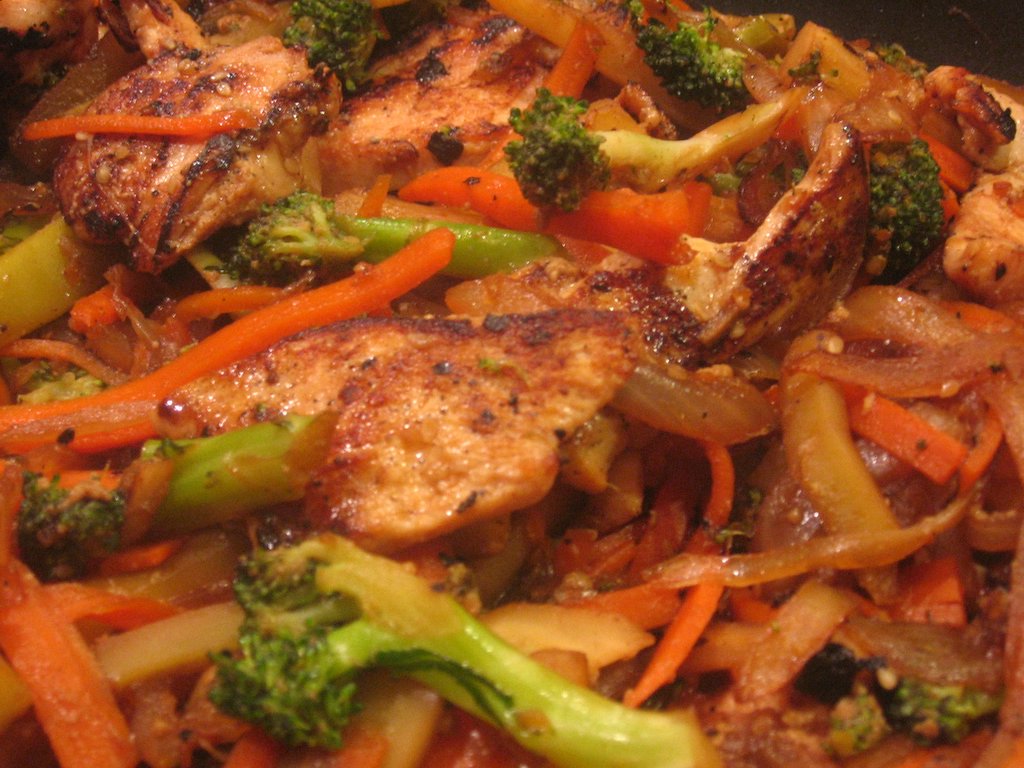
You don't need a hand hammered, imported wok to make a killer stir fry. Don't get me wrong, a good wok is an essential tool for anyone truly exploring Asian cuisine or any advanced foodie. But if you don't have one, you can still make a meal that is really close if you break out your 12 inch or better cast iron skillet and go about the meal in a little different sequence than in a high temp wok.

  • As with any stir fry, have everything cut, sliced and measured before you begin cooking.
  • Heat your seasoned cast iron skillet until you just see the first wisps of smoke.
  • If you are using meat, chicken or seafood cook it first in small batches over very high heat.
  • Remove all items just before they are 'done', carryover cooking will continue for a few minutes.
  • Cook each vegetable separately over high heat and remove each ingredient to a warm plate.
  • When you reach the last item, pour everything back into the pan to reheat and add your sauce
  • Thicken with 1/2 cornstarch and 1/2 water mixed into a slurry.


If you don't have a cast iron skillet, go buy one. Buy the largest you can find, and follow the instructions on seasoning prior to the first use. The cast iron skillet has to be the most under utilized tool in the average American kitchen. Part time chefs, don't know much about average, do we?

Posted by Picasa

Four Dollar Pizza Stone


Unglazed quarry tiles for Home Depot make a great $4.00. pizza stone, The important thing to keep in mind, is that you should select a tile that is untreated and 100% natural clay. The photo show two layers of nine tiles, but I found that in my oven a single layer works best. The idea is to cook the pizza directly on the stone, and with a little homework you can make a much better pie that you can have delivered and at about 1/4 of the price. The stone will discolor as you use it from spills, but for .37 cents a piece, they are essentially disposable. A decent stone from a gourmet shop will run your $40.00 and from articles I've read do not perform any better. I've also found that laying out the skin on a sheet of parchment makes the transition from the peel to the stone seamless and the end result is a cleaner oven, cleaner stone, and a beautiful crust. Another reason to buy that case of parchment I told you about.

I'm still testing and refining my recipes for a couple of styles of dough and suggestions for unique toppings, but in the meantime visit www.pizzamaking.com and be sure to read some of the forums. I'll post some recipes and results over the next few months, but for now the R and D will slow, the kids are sick of pizza if you can believe that.
Posted by Picasa

December 18, 2005

Pro Tip: #2 Parchment Paper


Pro Tip: #2 Parchment Paper

I found a case of 1000 sheets of parchment paper at GFS (Gordon Food Service) for about $30.00 and I continue to find new uses for it every week. Parchment paper has all but replaced wax paper, foil, and film in my kitchen and now that I've been using it for a while I'm not sure I could live without it. If you pick up a roll at the grocery store, you'll pay $3.00 or more for a few yards. The case I bought is 1000 sheets of 18 X 24, which translates to 2000 1/2 size sheet pans (shown above), or enough to last a part time chef a couple of years.

If you don't have a GFS in your area, check the internet for a foodservice distributor like Sysco or US Foods. Anyone can do a cash "will call" from a commercial carrier. Give them a call and ask for customer service, and ask for "parchment baking sheets, full size".

December 04, 2005

Pro Tip: #1 Bar Towels

Pro Tip: #1 Bar Towels

My kids make fun of me sometimes because I am known to walk around the house with a white bar towel over my shoulder, even when I'm not cooking. They're just so handy, and because I keep the cabinet stocked with them they are always in use and I don't mind going through 10 or so in a day. I picked up the habit working in restaurants and it has stuck with me. This is the essence of the "Pro Tip"; a useful technique, tool, or concept that translates to the home kitchen.

Both Costco and Sams Club carry a 4 dozen bag for $11.00 and I keep at least two bags on hand all the time. When they get stained or scruffy, they are demoted to a dust cloth or the garage. Posted by Picasa

November 25, 2005

Brined Turkey with a Fresh Herb Compound Butter and Maple Glaze

I brined the turkey overnight, then slid a compound butter under the skin. The cavity was stuffed with fresh herbs, a lemon, apple, and onion roughly chopped then heated in the microwave. The last hour I basted the skin with maple syrup to give the bird a sheen and glaze. The menu also included a fresh cranberry sauce, yeast rolls, green beans, roasted brussels sprouts with balsamic vinegar, cornbread sausage and apple dressing, whipped potatoes, and pan gravy.

My Mother's wedding china and my Grandmother's silver made their debut, and I'm pretty proud of the results.

This site is coming soon, and I'm excited to get started posting some content. The site will start as a promotional tool for my forthcoming book and work to fan my culinary fire. One day, I hope that it turns into a place where other "part time chefs" will visit and share memories and tips.

For more about me, visit www.cordrogers.com Posted by Picasa

I'm not a baker, but I can manage a pie.


Not bad for the eighth or ninth pie ever. The edge is a maple leaf cutter inherited from my Mother in Law. Her pastry was better, but I'm sure this one would pass inspection. Posted by Picasa